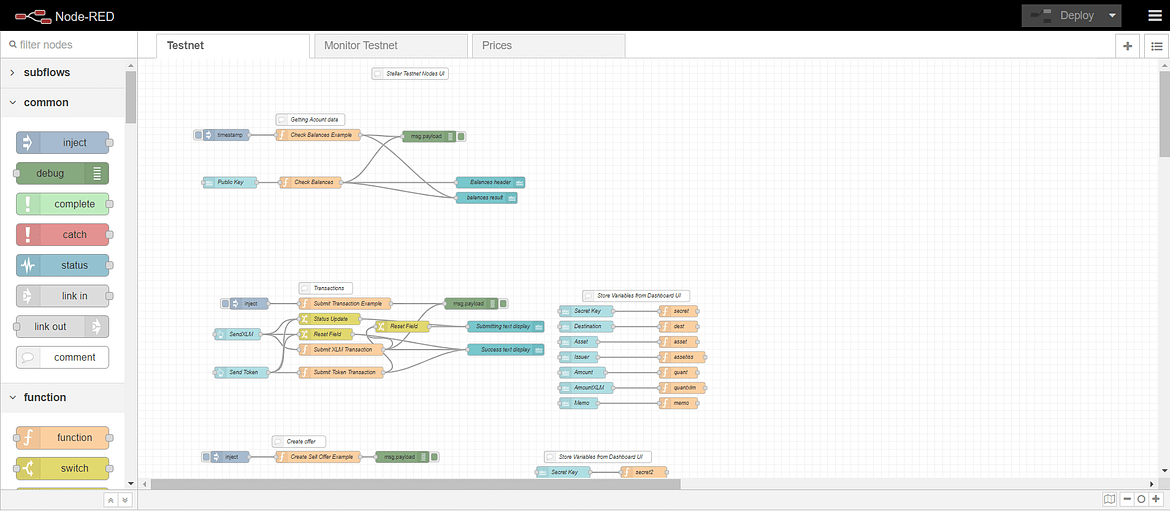
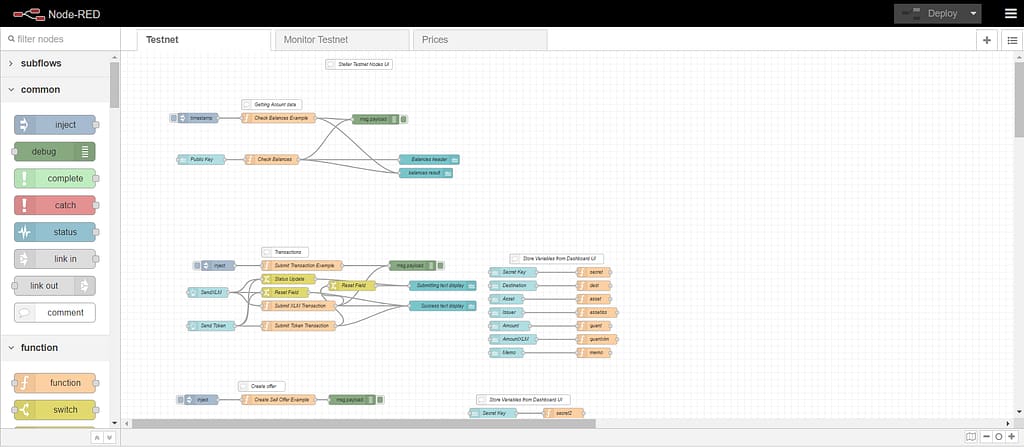
StellarRed is currently an example node red flow that can be customized as needed.
https://github.com/BlockShangerous/Stellar-Lumens-Node-Red/blob/main/StellarRed
https://flows.nodered.org/flow/2078efb84e380d70c958ef6796fcae8b
If you are unfamiliar with node red there are many tutorials available. It is an awesome visual programming tool for those of us who are not coders and go cross eyed when looking at code.
One of the best things about node red is that it allows you to create an ultra low cost server using a raspberry pi.
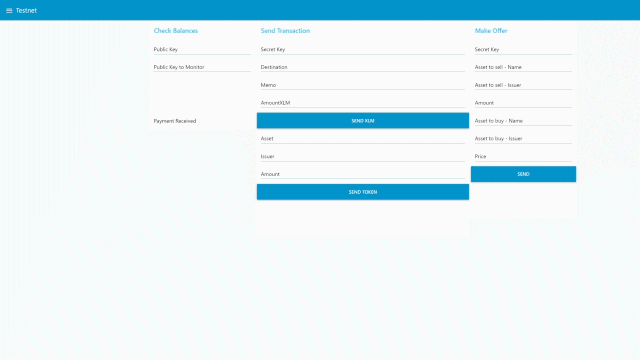
Once you have this flow up and running you can access your personal UI using your ip:1880/ui

This UI will allow you to perform many functions on Stellar testnet including: Send XLM, Send Tokens, Generate a new keypair, Make an offer on the SDEx, Monitor an account for a received payment, Generate a new token, and finally Check Kraken prices
If you are already familiar with NodeRed all you need to do to make this flow work is add the following two lines to the functionGlobalContext of your settings.js file, typically located in /home/pi/.node-red
stellarsdk:require(“stellar-sdk”),
nodefetch:require(“node-fetch”)
You will also need to npm install those packages and have the dashboard node installed in your node-red palette.

If you are not familiar with raspi/node red I will be creating a step by step tutorial for how to get started once I have time. Here’s the rundown:
There are many tutorials available for how to setup a new raspberry pi. My recommendation is to download the Raspberry Pi Imager
https://www.raspberrypi.org/software/
and change the install to the Raspberry Pi OS (FULL)
The default version does not include everything you need and will require additional downloads and installs.
Once your new pi is up and running you need to update it:
sudo apt update
sudo apt full-upgrade
Next you must install the necessary packages (this does not work with the new v3 node-fetch)
npm install node-fetch@2.6.1
npm install stellar-sdk
Then you need to navigate to your .node-red folder. If you are navigating the folder structure you will need to turn on view hidden folders. Then open settings.js and add the two lines of code discussed above. If it is a brand new pi and you haven’t run node red yet these folders and files may not exist. Run node red, wait for it to fully set itself up and get running, then stop node red before editing the settings file.
Get node red running. Point a web browser (either on the pi or any other computer on the same network) to the pi’s ip address:1880. Using the top right hamburger you need to click “manage palette” and install node-red dashboard. You are now ready to import the Stellar node red SDK and deploy. In another browser tab open up the dashboard ui by navigating to the ip:1880/ui
And it should be working! You are now able to do stuff on Stellar testnet.


Hola! I’ve been following your site for some time now and finally got the bravery to go ahead and give you a shout out from Humble Texas! Just wanted to tell you keep up the good job!
Thanks!
Thanks for the article, is there any way I can receive an email sent to me whenever you publish a new article?
I think you can subscribe via a wordpress account.
I will be creating a medium account and twitter account soon and those will be good ways to stay subscribed as well
It抯 really a nice and useful piece of information. I am glad that you shared this helpful info with us. Please keep us up to date like this. Thanks for sharing.
excellent post, very informative. I’m wondering why the other specialists of this sector don’t realize this. You should continue your writing. I am sure, you have a great readers’ base already!
I know these comments are just bots but it sadly makes me feel like people are actually reading my stuff. Oh well. Gonna keep on keepin on